Eclipse CAPS Integration Guide
Step 1: Download the CAPS Project Files
- Obtain the latest CAPS project archive (
CAPS.7z) from the official repository or provided link: Download CAPS.7z - Save the file to a preferred location (e.g.,
C:\CAPS). - Extract the contents of
CAPS.7zusing a tool like WinRAR, 7-Zip, or Windows Explorer. - Ensure the extracted folder contains a
Packagesdirectory with the required Eclipse projects.
Step 2: Import Projects into Eclipse
- Open Eclipse.
- Navigate to
File→Import. - Select
General→Existing Projects into Workspaceand clickNext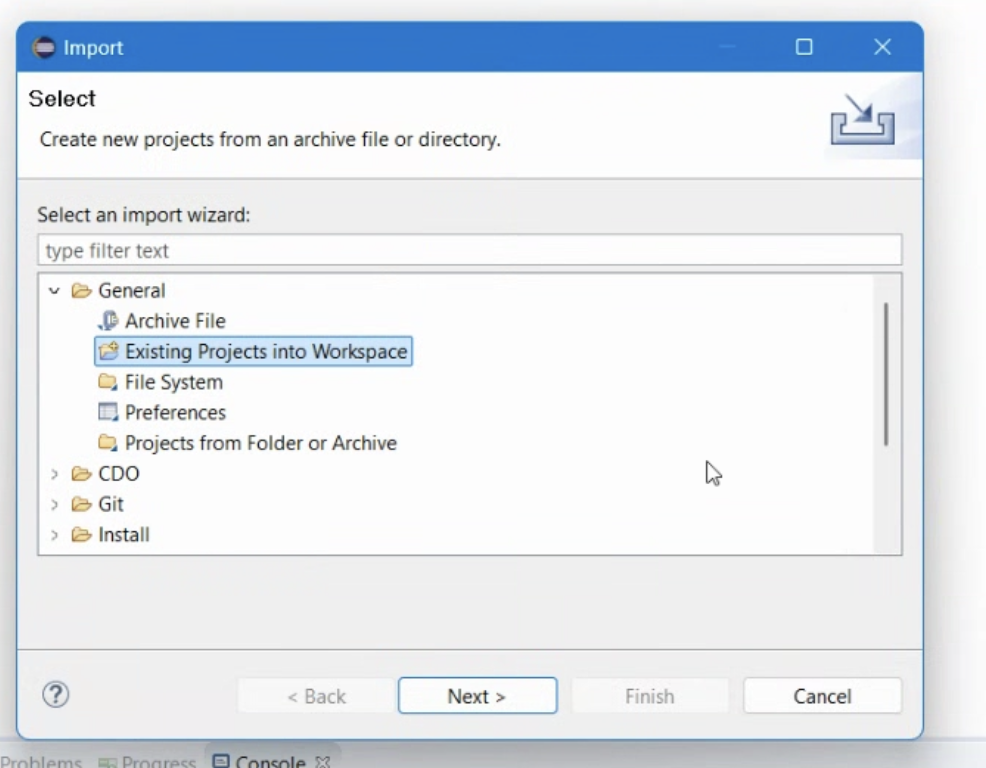
- Click
Browseand select the extractedPackagesfolder.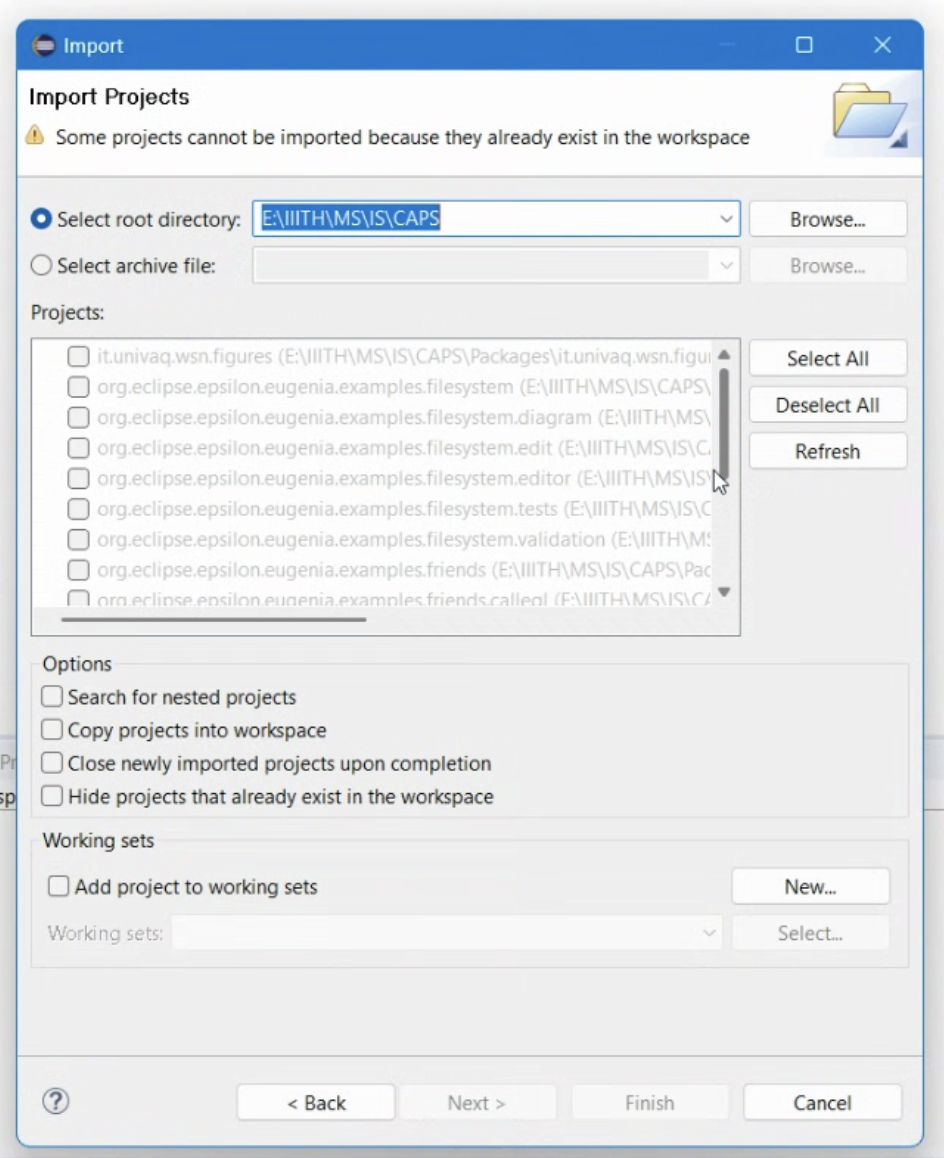
- Ensure all projects are selected in the list.
- Click
Finishto import the projects into your workspace.


Step 3: Configure the Workspace
Run the Diagram Editor
- In the
Project Explorer, locate the projectorg.eclipse.epsilon.eugenia.examples.friends.diagram. - Right-click on the project and select
Run As→Eclipse Application.
- A new Eclipse instance will launch, allowing you to work with the modeling environment.

At this point, the CAPS framework should be successfully imported and ready for use in Eclipse.